Monday, March 9, 2009

The Weekly Round Up: Spring

I can't stop dreaming about spring- so much so that when I left my apartment in the rain this moring, I realized too late that I wasn't even wearing any stockings. Shocking- I know. With that in mind this week's round up is from a recent Interior's sale which seems to be on the same wavelength.


Andre Brasilier (b. 1929)
Chantal à New York
Sale 2138 Lot 20


A LOUIS XV STYLE PORCELAIN-MOUNTED GREEN TOLE PEINTE SIX-LIGHT CHANDELIER
Sale 2141 Lot 932


A PAIR OF FRENCH STAINED BEECH FAUTEUILS, PROBABLY 19TH CENTURY

Sale 2141 Lot 730

Valentine Lecomte (FRENCH, B. 1872)
Parmi les Fleurs
Sale 2141 Lot 108


A PAIR OF GERMAN SILVER TREES, MARK OF NERESHEIMER, 20TH CENTURY,
Sale 2141 Lot 281

Emma Fordyce MacRae (1887-1974)

Gloucester Garden

Sale 2142 Lot 176

A SET OF FIVE BOHEMIAN GLASSES PAINTED WITH FLORAL DECORATION, GLASHUTTE FRITZ HECKERT, LATE 19TH EARLY 20TH CENTURY
Sale 2136 Lot 477


Lawrence Mazzanovich (American, 1872-1959)
Verdant country landscape
Sale 2141 Lot 27

Monday, March 2, 2009

Flourless Chocolate Cake

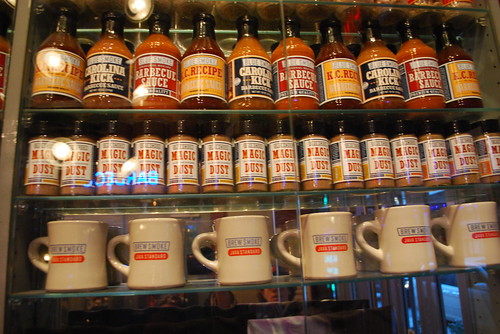
I was a little overworked this month and just spent the last 4 days recovering from this:


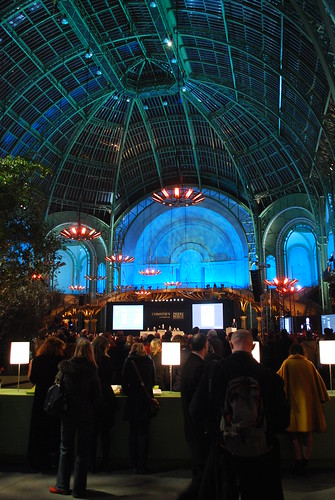
So I hope you'll forgive the tardiness and blurriness of this post and its photos- you have to believe me when I say, this cake very nearly never came to be (and I'm still lacking the homemade ice cream portion of the challenge!)

The February 2009 challenge is hosted by Wendy of WMPE's blog and Dharm of Dad ~ Baker & Chef.We have chosen a Chocolate Valentino cake by Chef Wan; a Vanilla Ice Cream recipe from Dharm and a Vanilla Ice Cream recipe from Wendy as the challenge.

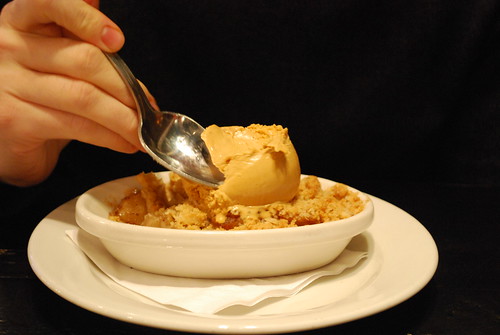
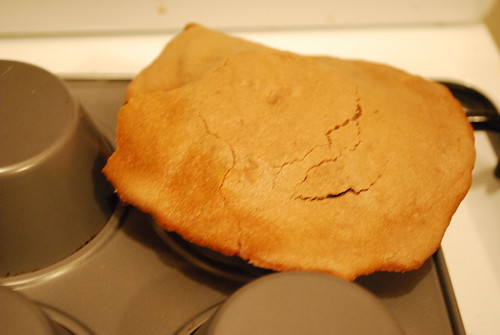
And here is my lame attempt at the cake portion:


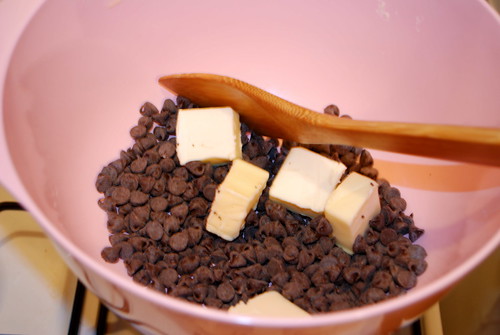
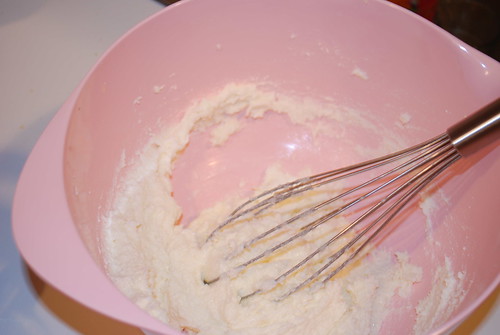
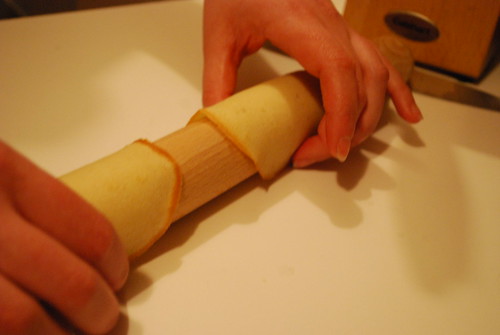
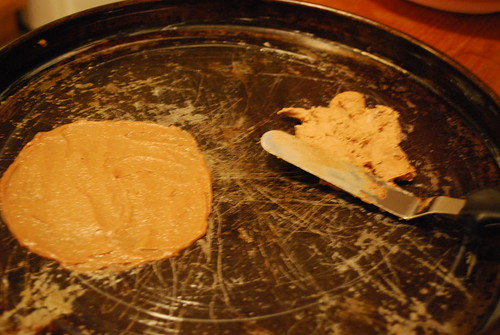
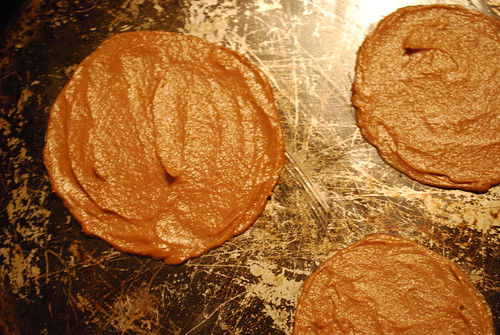
I only managed to take one picture of the prep part as the cake came together so quickly! Only 3 ingredients but 3 separate bowls. Since it would only be me and the boyfriend partaking in this rich cake, I halved the recipe and cooked it in my never-before-used bundt cake pan. Is that right? because this thing came with other pans, so I was never quite sure what it was... Either way the pan was perfect and the cake came out with no problems.


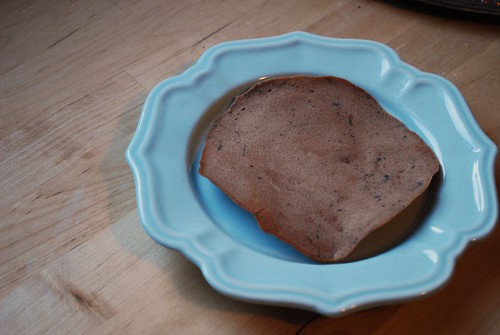
I made this cake at about 10pm and by the time we were eating it, it was dark, I was a little tipsy and I'm afraid that pictures may have suffered a little.. Let's just imagine you're getting a real feel for how the cake was actually enjoyed.


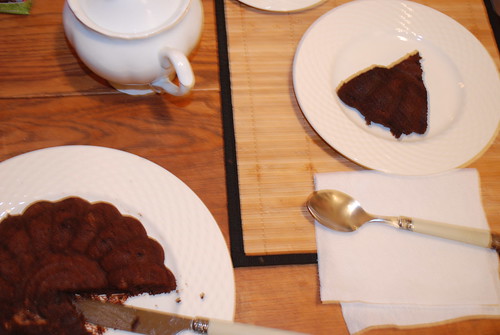
Light, rich and super chocolaty- this cake is staying in the repertoire! I only wish I had made time to make the home made ice cream as well but I'm afraid that for this chick, it will have to be another challenge for another day.


Chocolate Valentino
Preparation Time: 20 minutes

  • 16 ounces (1 pound) (454 grams) of semisweet chocolate, roughly chopped
  • ½ cup (1 stick) plus 2 tablespoons (146 grams total) of unsalted butter
  • 5 large eggs separated

1. Put chocolate and butter in a heatproof bowl and set over a pan of simmering water (the bottom of the bowl should not touch the water) and melt, stirring often.
2. While your chocolate butter mixture is cooling. Butter your pan and line with a parchment circle then butter the parchment.
3. Separate the egg yolks from the egg whites and put into two medium/large bowls.
4. Whip the egg whites in a medium/large grease free bowl until stiff peaks are formed (do not over-whip or the cake will be dry).
5. With the same beater beat the egg yolks together.
6. Add the egg yolks to the cooled chocolate.
7. Fold in 1/3 of the egg whites into the chocolate mixture and follow with remaining 2/3rds. Fold until no white remains without deflating the batter.
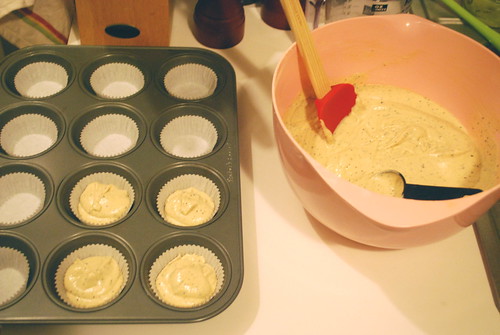
8. Pour batter into prepared pan, the batter should fill the pan 3/4 of the way full, and bake at 375F/190C
9. Bake for 25 minutes until an instant read thermometer reads 140F/60C.
Note – If you do not have an instant read thermometer, the top of the cake will look similar to a brownie and a cake tester will appear wet.
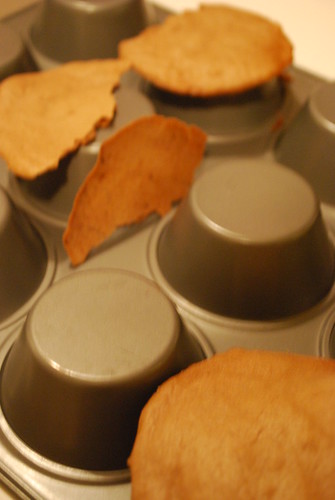
10. Cool cake on a rack for 10 minutes then unmold.


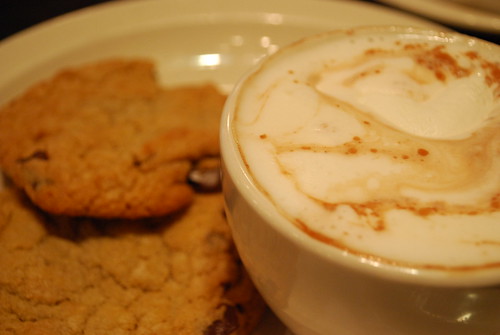
No ice cream to hand? Coffee is also quite delicious alongside this rich cake.

Tuesday, February 10, 2009

Blue Smoke

My boyfriend told me last week that he wants to become a pitmaster. And I don't think he's kidding. A recent trip to Blue Smoke may have been the catalyst. Rightly so, too.


We had no idea, but it was restaurant week in NY so they had a tasty prix fixe meal on offer. Lunch was $24.95 per person and included an appetizer, main and desert. You could pay an extra $16 (if I recall) for a beer sampler to accompany each dish. Had it not been lunch and if we both weren't kinda broke, I would have gotten that beer sampler in a second.

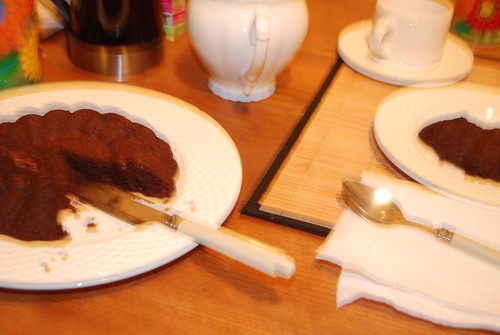
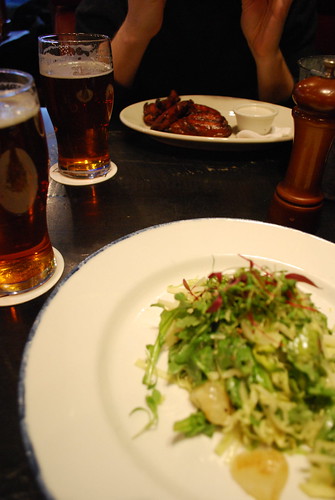
Kris started with Chipotle Chili Buffalo Wings and I had a sensible winter salad. Kris was the clear winner here.
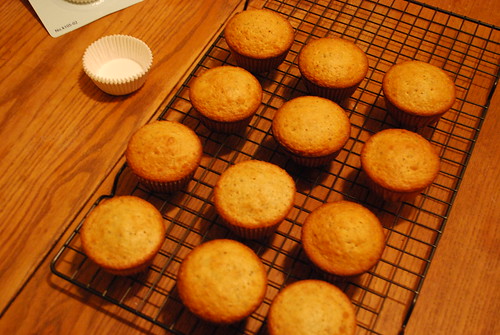
Leftover bones in a handy bucket

Industrial chic?
Because it's a BBQ joint, we had to have some Kansas rub ribs. Mine with "pit beans" and Kris's with collard greens, because he's a southern boy.
The ribs were so good they didn't even need any extra BBQ sauce, although what they had on offer looked might tasty too.
Because it was pretty frigid outside, I went with Hot Chocolate and Warm Chocolate Chip Cookies for dessert. The hot chocolate was one of the best I've had- honestly. You could tell it was made with real chocolate and milk. (imagine that!)
Kris couldn't resist their Apple Crumble with Salted Caramel Ice Cream

Overall, we were really pleased with Blue Smoke and already have plans to return. I think we both knew we had picked a winner when we walked in and saw that the restaurant is connected to a jazz club upstairs. Nice.
Just don't wear white.

Monday, February 9, 2009

Hyped up Cupcakes for a Monday Morning

Before I managed to find and buy an egg beater when we made the move to NY, I knew I had to make cupcakes. Although I baked a ton while living in London I never had the chance to make cupcakes because they just don't sell cupcake pans. at all. The closest pan they had was for Yorkshire pudding, but those are much too wide and short- not features you want in a cupcake.

I may have made these cupcakes for my office about 3 weeks ago but I sure could use one now...


Creaming the butter and sugar by hand is one heck of a workout.


Incorporating the liquids and dry ingredients into the creamed butter.

Fill about 2/3 of the way

Let cool

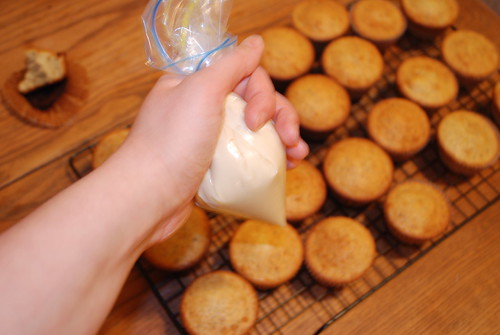
No pipping bags either.. But a ziploc will work in a pinch!
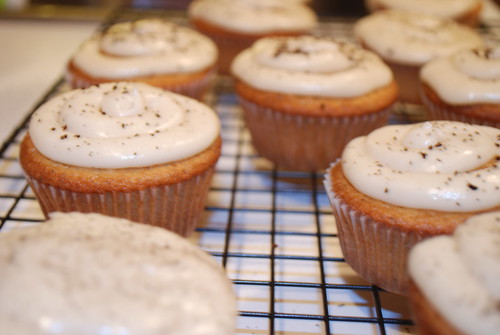
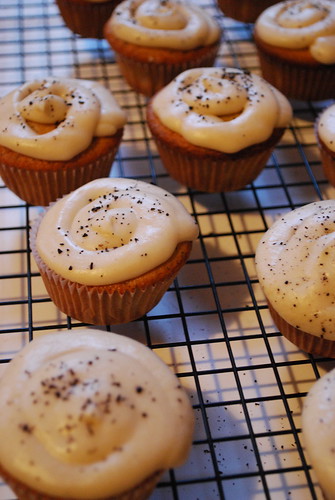

Just add a little dusting of ground coffee to really perk up these tasty treats.

In the morning sunlight

Hyped-up Coffee Cupcakes
From this recipe on cupcakeblog

  • 3/4 cup (1-1/2 sticks) unsalted butter, room temperature *
  • 1-1/2 cups sugar
  • 3 large eggs, room temperature
  • 2 cups + 1 tablespoon all-purpose flour
  • 1 teaspoon baking powder
  • 1/8 teaspoon salt
  • 1 tablespoon dark roast coffee grounds
  • 1/2 cup strong brewed, dark roast coffee
  • 1/4 cup + 2 tablespoons milk

1. Beat butter on high until soft, about 30 seconds.

2. Add sugar. Beat on medium-high until light and fluffy, about 3 minutes.

3. Add eggs one at a time, beating until incorporated.

4. Whisk together flour, baking powder, salt, and coffee grounds in a bowl.

5. Measure out coffee and milk together.

6. Add about a fourth of the flour to the butter/sugar mixture and beat to combine.

7. Add about one third the coffee/milk mixture and beat until combined.

8. Repeat above, alternating flour and coffee and ending with the flour mixture.

9. Scoop into cupcake papers about two-thirds to three-quarters full (depending on whether you want flat or domed cupcakes. Note that these cupcakes will shrink slightly when they cool).

10. Bake for 22-25 minutes until a cake tester comes out clean.


Tip: Be careful when adding the coffee/milk mixture to the batter. If you add it too quickly the mixture will look curdled. Add small amounts and beat well to incorporate.

* I never remember to take my butter out in time so it usually ends up nestled in my cookbooks on top of the heater.

Thursday, February 5, 2009

Tuiles- Take Two

After such a dismal baking performance with this month's Daring Bakers Challenge, I promised myself to try again. And I'm so glad I did- no unnecessary chocolate powder, no ovens turning off and proper timing led to some truly scrumptious treats filled with lemon flavoured whipped cream.

This time, my dough was white

Burning my fingers for the sake of DB

All dressed up!


Might have to revive these confections for an afternoon tea this spring.
Simply delicious.

Wednesday, February 4, 2009

Oh right, It's the Superbowl

I'm gonna go ahead and admit that I kinda don't like the Superbowl. Maybe what I mean is that I don't like sports in general. When my boyfriend asks whether I want to go to a baseball game, I say "Sure. As long as I can eat as much as I want." This is how I ended up eating a loaded Chicago hot dog, a bag of peanuts and 3 illegally purchased beers at Wrigley field a couple summers ago. And the illegal part isn't because I was under 21 but that my driver's license was vertical. Are you following this? In Virginia, your first license is vertical and in big red letters says: "Under 18 until this date" and "Under 21 until this date" And even though the date listed was clearly some time (years!) ago, this didn't make a difference to Wrigley field. They have their owns laws. All of this to say that if it weren't for food and drink, you could not drag me to a venue or pin me down to a sofa to watch sports.

This year, we decided to make Hot Sausage dip- a recipe that was cleverly inserted into a gift I received this Christmas from Kris' Aunt Diane.


Look at that printed recipe!

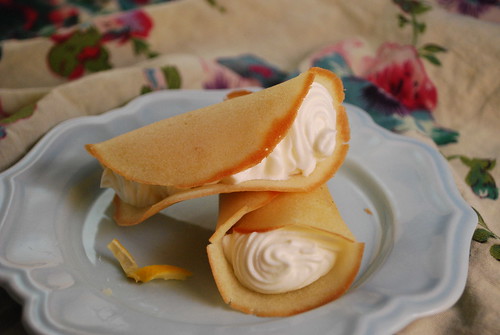
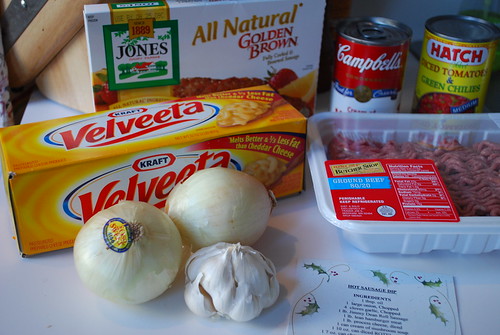
Step 1: Dice up a pound of processed cheese. No, this isn't going to be a very healthy or natural recipe...

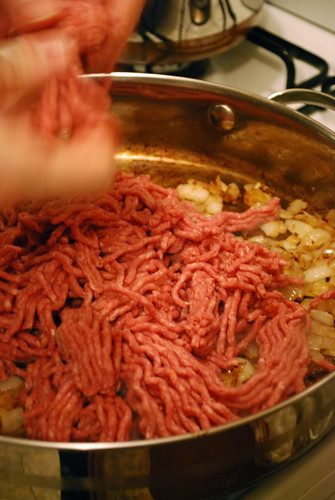
After softening some onion and garlic, add in a pound of lean ground beef and 1pd of jimmy dean sausage roll. We couldn't find any jimmy dean sausage roll and had to substitute.

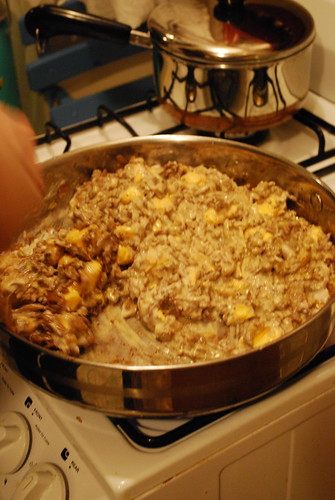
The recipe says that once the meat is browned, to melt the cheese in the microwave and then add the meat mixture to the cheese. Not wanting to dirty another bowl (or maybe I just don't have another bowl) we cheated a little..


Clearly deviating from the recipe

Then we just threw in the rest of the ingredients: the can of jalapenos and our fake can of Rotel. We also added some garlic salt and cumin (well, I wish we added cumin. We were out and used ground coriander instead because this is supposedly similar)


General consensus? Might look like dog food, but it sure does taste good!


Hot Sausage Dip
  • 1 tbsp oil
  • 1 large onion, chopped
  • 4 cloves garlic, minced
  • 1 pd Jimmy Dean sausage roll
  • 1 pd lean hamburger meat
  • 1 pd processed cheese, diced
  • 1 can cream of mushroom soup
  • 1 10oz can Rotel (diced tomatoes with green chillies)
  • 1 7oz can chopped jalapenos

Add oil to a large saute pan. Once hot, add in your onions and garlic and cook until softened. Next add the beef and sausage roll making sure to crumble it as it browns. Next add in cubed cheese and rest of ingredients as the cheese melts.
Serve with corn chips.

Tuesday, February 3, 2009

The Lexington Candy Shop

About two weeks ago when Kris and I experienced our first snow in New York, we decided to go to the Met.
Walking through Central Park
I've always been grateful that I have a boyfriend with the same museum going philosophy as I, namely that it is not necessary to read everything (unlike my mother) nor look at everything. I prefer walking through a room, hoping something will catch my eye at which point I will investigate further. I don't have the patience to pretend to be interested in the traditional attire for a warrior in papau new guinea. No offense.

I had been to the Met once before and hadn't seen much of anything but with a museum like that, you're gonna need several trips anyway. Kris had never been, so this trip was a real walk-through. My only goal was to find the Temple- you know, the one from When Harry Met Sally where Billy Crystal starts talking funny: "Waiter, there is too much pepper on my paprikash. "

The Temple of Dendur


We were getting a bit peckish and needed a place to warm up after trudging through the not-yet-plowed sidewalks. We ended up at the Lexington Candy Shop which has not changed much since it opened in the 1920's.


Breakfast is offered all day so I got a plate of yummy blueberry pancakes and a strawberry malt while Kris got a buffalo burger (not realizing it was made from buffalo) some onion rings and a throwdown winning doughnut. Although Kris wasn't overly thrilled with his onions rings, i would say that on the whole, this place was pretty awesome.


Our one real complaint? No free refills or heat ups (that's right!) on coffee.

Good thing they bring it out pipping hot.

Thursday, January 29, 2009

Tuiles with the Daring Bakers

I've learned my lesson. I really have! I should not wait until the day before its due to bake up the monthly Daring Baker's Challenge. Although I have done so successfully in the past, it's just not worth it in the end. Also- I should use the forum for inspiration. Because I'll admit that I wasn't super duper excited by the thought of making tuiles, but browsing through all the other baker's posts today made me realize how much I missed out! What fantastic and easy creations you've come up with! I think the problem stems from my fixation on making tuile cups that I would fill with ice cream and top with some delicious chocolate sauce (like this one) so when I managed to crack every tuile in sight, I kinda just gave in and let the evil baking spirits win. It just wasn't meant to be! At least not last night.

This month's challenge is brought to us by Karen of Bake My Day and Zorra of 1x umruehren bitte aka Kochtopf. They have chosen Tuiles from The Chocolate Book by Angélique Schmeink and Nougatine and Chocolate Tuiles from Michel Roux.

I chose to do the simple tuile recipe and it was indeed very simply. Kinda just mix up your ingredients until they are nice and homogeneous. The recipe says to put your dough and buttered pan in the fridge for about 15 minutes to firm up. I actually left mine in the fridge overnight and should have let the dough heat up a bit. ..


It was a bit temperamental... I also should not have added the chocolate powder to my dough! Having not read the recipe through (doh!), I didn't realize the powder was supposed to be added to a small batch of the dough to use as embellishments on the tuile- which would have been lovely! But in my case, the chocolate kinda diluted any flavor and made for a very "meh" cookie.


Pop these babies in the oven for about 5-10 minutes until they are brown around the edges. Once you remove them from the oven, quickly start shaping the cookies.

Might have left mine in too long.. but it's hard to tell when the cookies are already brown! They did not really want to bend any which way.

After two failed batches and my oven turning off about 3 times during the process, I had to give in. Here is the lone survivor- slightly crinkled and not very tasty :(

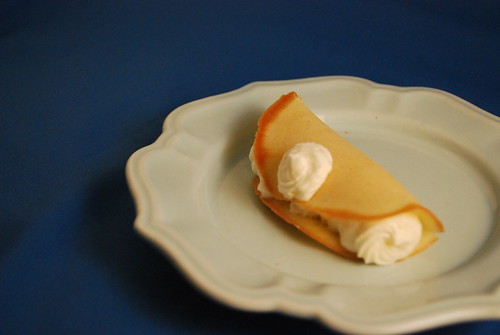
At least he's on a pretty blue plate! right? right?!
Anyway, here's the recipe- which I solemnly swear to try again once the evil spirits have vacated my kitchen!
Tuile
From “The Chocolate Book”, written by female Dutch Master chef Angélique Schmeinck.
Yields: 20 small butterflies/6 large (butterflies are just an example)
Preparation time batter 10 minutes, waiting time 30 minutes,
Baking time: 5-10 minutes per batch
  • 65 grams / ¼ cup / 2.3 ounces softened butter (not melted but soft)
  • 60 grams / ½ cup / 2.1 ounces sifted confectioner’s sugar
  • 1 sachet vanilla sugar (7 grams or substitute with a dash of vanilla extract)
  • 2 large egg whites (slightly whisked with a fork)
  • 65 grams / 1/2 cup / 2.3 ounces sifted all purpose flour
  • 1 table spoon cocoa powder/or food coloring of choice
  • Butter/spray to grease baking sheet
Oven: 180C / 350F
Using a hand whisk or a stand mixer fitted with the paddle (low speed) and cream butter, sugar and vanilla to a paste. Keep stirring while you gradually add the egg whites. Continue to add the flour in small batches and stir to achieve a homogeneous and smooth batter/paste. Be careful to not over mix.
Cover the bowl with plastic wrap and chill in the fridge for at least 30 minutes to firm up. (This batter will keep in the fridge for up to a week, take it out 30 minutes before you plan to use it).
Line a baking sheet with parchment paper or grease with either butter/spray and chill in the fridge for at least 15 minutes. This will help spread the batter more easily if using a stencil/cardboard template such as the butterfly. Press the stencil on the baking sheet and use an off sided spatula to spread batter. Leave some room in between your shapes. Mix a small part of the batter with the cocoa and a few drops of warm water until evenly colored. Use this colored batter in a paper piping bag and proceed to pipe decorations on the wings and body of the butterfly.
Bake butterflies in a preheated oven (180C/350F) for about 5-10 minutes or until the edges turn golden brown. Immediately release from baking sheet and proceed to shape/bend the cookies in the desired shape. These cookies have to be shaped when still warm, you might want to bake a small amount at a time or maybe put them in the oven to warm them up again. (Haven’t tried that). Or: place a baking sheet toward the front of the warm oven, leaving the door half open. The warmth will keep the cookies malleable.
If you don’t want to do stencil shapes, you might want to transfer the batter into a piping bag fitted with a small plain tip. Pipe the desired shapes and bake. Shape immediately after baking using for instance a rolling pin, a broom handle, cups, cones….