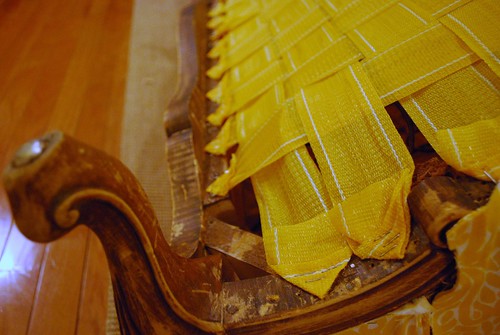
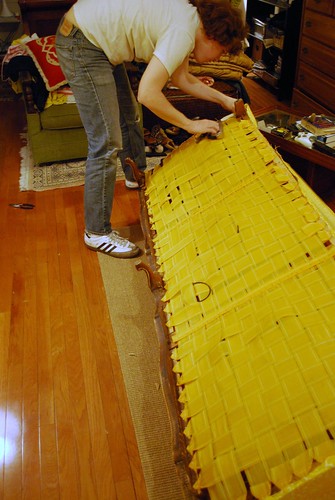
This challenge is so close to the deadline that I haven't even tried the tart yet! But it should make a pretty delicious breakfast with fresh blueberries. In terms of what I did this afternoon to make the tart, I started off by mixing the sifted flour, sugar and salt and adding the butter by grating it through a cheese grater.
 And yes, it looks like cheese. A pretty easy method really- I'll have to do this next time I make scones.
 Next you mix the butter into the flour and add the egg yolks one a time. Assemble the dough with some cold water and put it in the fridge for about an hour.
 Here's one measly picture of the making of the frangipane- it was too quick and easy.
 Once you have your dough, frangipane and jam, roll out the dough, place it in the pie dish and spread out the warm jam.
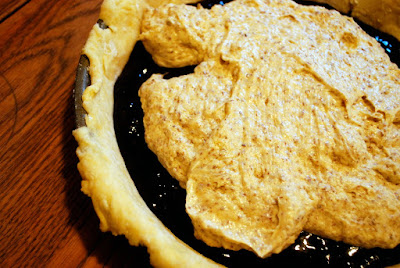 Then top it with the frangipane before putting it into a 400 degree oven for about 30 minutes. We'll have to wait until tomorrow to find out what looks like and tastes like!
Bakewell Tart
a traditional (UK) recipe from the 1800s in England
1 sweet shortcrust pastry
bench flour
1 cup (250ml) jam or curd, warmed for spreadability
1 batch frangipane
handful almond slivers, blanched
sweet shortcrust pastry
8 oz (225g) all purpose flour
1 oz (30g) sugar
1/2 tsp (2.5ml) salt
4 oz (110g) unsalted butter, cold (frozen is better)
2 egg yolks
1/2 tsp (2.5ml) almond extract (optional)
1-2 tbsps (15-30ml) cold water
Sift together flour, sugar and salt. Grate butter into the flour mixture, using the large hole-side of a box grater. Using your finger tips only, and working very quickly, rub the fat into the flour until the mixture resembles bread crumbs. Set aside. Lightly beat the egg yolks with the almond extract (if using) and quickly mix into the flour mixture. Keep mixing while dribbling in the water, only adding enough to form a cohesive and slightly sticky dough. Form the dough into a disc, wrap in cling and refrigerate for at least 30 minutes.
frangipane
4.5 oz (125g) unsalted butter, softened
4.5 oz (125g) icing sugar
3 eggs
1/2 tsp (2.5ml) almond extract
4.5 oz (125g) ground almonds
1 oz (30g) all purpose flour
Cream butter and sugar together for about a minute or until the mixture is primrose in color and very fluffy. Scrape down the side of the bowl and add the eggs, one at a time, beating well after each addition. The batter may appear to curdle. In the words of Douglas Adams: Don’t panic. Really. It’ll be fine. After all three are in, pour in the almond extract and mix for about another 30 seconds and scrape down the sides again. With the beaters on, spoon in the ground nuts and the flour. Mix well. The mixture will be soft, keep its slightly curdled look (mostly from the almonds) and retain its pallid yellow color.
Assemble the tart: Place the chilled dough disc on a lightly floured surface. If it’s overly cold, you will need to let it become acclimatised for about 15 minutes before you roll it out. Flour the rolling pin and roll the pastry to 5mm (1/4”) thickness, by rolling in one direction only (start from the centre and roll away from you), and turning the disc a quarter turn after each roll. When the pastry is to the desired size and thickness, transfer it to the tart pan, press in and trim the excess dough. Patch any holes, fissures or tears with trimmed bits. Chill in the freezer for 15 minutes. Preheat oven to 400°F (200°C). Remove shell from freezer, spread as even a layer as you can of jam onto the pastry base. Top with frangipane, spreading to cover the entire surface of the tart. Smooth the top and pop into the oven for 30 minutes. Five minutes before the tart is done, the top will be poofy and brownish. Remove from oven and strew flaked almonds on top and return to the heat for the last five minutes of baking. The finished tart will have a golden crust and the frangipane will be tanned, poofy and a bit spongy-looking. Remove from the oven and cool on the counter. Serve warm, with crème fraîche, whipped cream or custard sauce if you wish. When you slice into the tart, the almond paste will be firm, but slightly squidgy and the crust should be crisp but not tough. Makes one 9-inch tart.


 Well that's a bit of a lie as I didn't really get to rip anything off- see the trick to recovering a couch is to keep the pieces of fabric intact, only ripping the seams- this was you will already have a pattern for each piece you need to cut out from your new material.
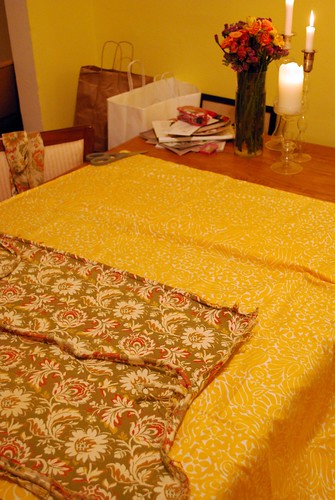 Like this! You just take the piece of fabric from your couch (i believe this the bottom of a cushion) and lay it down flat on your new fabric and cut it out.

 To finish it off, we had to find some trim to cover all those staples. The orignal couch had some really gross white braided satin trim, but once we sanded down the wooden features, the couch was feeling a little beachy so I just bought some twine from the hardware store (far too much twine, I might add).
 This part was actually the most painful- it took 4 episode of Law & Order, 2 rows of twine and 3 severe burns to my fingers.
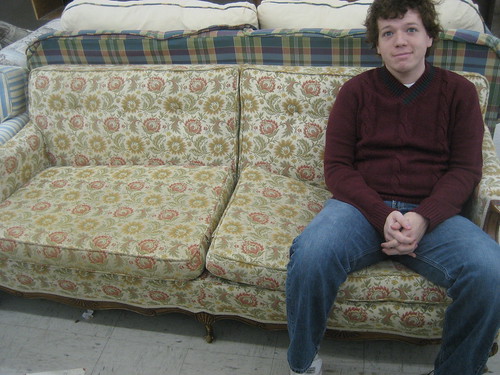 But looking back at this monstrosity....
 Detail shot! Hello beautiful wooden features!
 aaaaaah- Totally worth it.
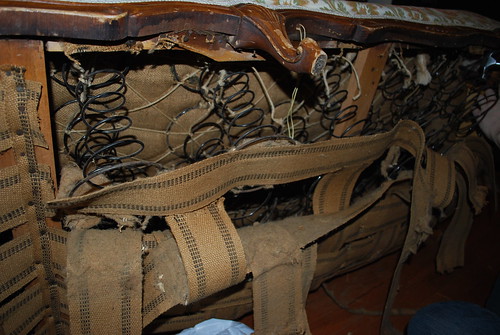
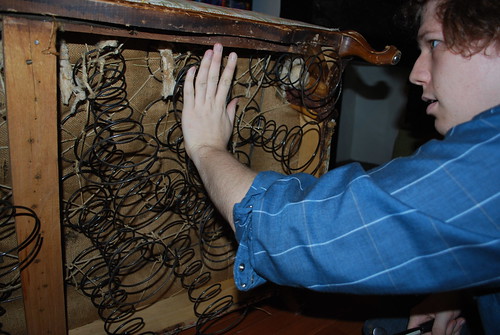
 It was pretty easy once we worked out a system.
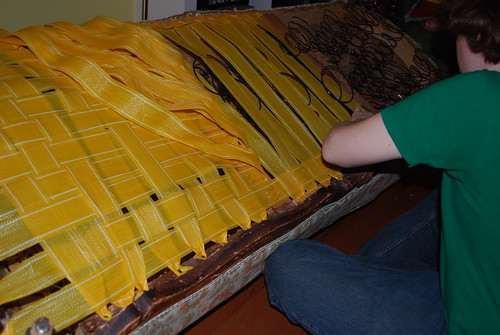 Kris did mess up the over, under pattern a few times, which wasn't be the end of the world, but writing this now about a month after the fact, the sections with no crossing mistakes are holding up perfectly whereas the other section has had a spring start to pop out.