Tuesday, March 29, 2011

Wishing I was Cajun

I knew that going to New Orleans would be a culinary adventure- that I would be sampling some truly fantastic cuisine that I hadn't had much exposure to. I didn't know that I would be adding a whole new chapter of food to my internal catalog of recipes. I have made gumbo 3 times since getting back and I'm the kind of person who never makes the same thing twice. I mean, why bother? I wish I could be diligent like Deb over at Smitten Kitchen and make a recipe several times in a week to get it *just* right, but it's not in my nature (which is why I SO appreciate sites like Smitten Kitchen!). 

In New Orleans, I signed Kris and I up for a cooking class which was really a cooking demo with lunch at the end. The online community had great things to say about this class at the New Orleans School of Cooking and I don't need too much convincing to do anything food or cooking related. But when we finally got there on our scheduled morning, Kris would barely stand in the shop that led to the classroom in the back. The shop was filled to the brim with capital-T-Tourists. I think a bus of old-timers (and I use that term affectionately) had also just unloaded and was being whisked in to the classroom like a bunch of VIP's. Kris would have none of it. I was still up for it. Also, I had already paid. 


We shuffled into the classroom, picked a table off to the side and sat down with 4 strangers. The chef came in and I think we can safely call her the Paul Dean of New Orleans. She gave us the history of New Orleans, relating it to food and then started cooking. She made Gumbo, Jambalaya, Bread Pudding and Pralines (say it with me: Praw-leens). Watching the demo made all the difference. Reading the recipes on their own, I never would have understood how to make a roux. I always thought that a roux was flour and butter, cooked just long enough to get rid of the raw flour taste but not long enough that your butter burns. But it turns out that in New Orleans, people like to use vegetable oil (!!!) in a 12inch deep saute pan (!!?!) and can cook a roux for several hours (???!) while constantly stirring the mixture to make sure it doesn't burn. Those facts just don't compute in my head. 

All of this to say that I made their Gumbo twice (and it's great) but the one I'm sharing with you today is from a cookbook I just picked up by Donald Link who is the chef at Herbsaint and Cochon- where we had a spectacular meal while in New Orleans (and I had my very first Head Cheese. It was awesome). 


Chicken Sauce Piquant
Adapted from Real Cajun by Donald Link
My chicken pieces ended up being much smaller than the recommended 1'inch cube which meant that they were pretty much cooked during the browning phase so I sampled one and holy Jesus is that some GOOD chicken! Kris and I thought about forgoing the rest of the recipe and just eating these spicy chicken nuggets on their own!
  • 1 1/2 tbls salt
  • 2 tsp ground black pepper
  • 1/2 tsp ground white pepper
  • 2 tsp cayenne pepper
  • 2 tsp chili pepper
  • 1 tsp paprika
  • 1 (3-4) pound chicken, boned and cut into 1-inch cubes
  • 3/4 cup lard (or vegetable oil)
  • 1 cup flour
  • 1 small onion, diced
  • 3 celery stalks, diced
  • 1 small poblano, seeded and diced
  • 1 tbls minced garlic
  • 5 plum tomatoes, diced
  • 2 cups canned tomatoes
  • 5 cups chicken broth
  • 1 tbls dried thyme
  • 4 bay leaves
  • 4 dashes hot sauce
In a medium bowl combine the salt, black pepper, white pepper, cayenne pepper, chili pepper and paprika. Toss the chicken with the spice mixture. In a deep, wide pan (dutch oven or large saute pan) heat the lard until almost smoking. Toss the chicken in the flour, shake off excess flour (reserving the excess flour) and portion of chicken in one single layer into heated oil. Turn chicken to ensure even browning then remove. Continue cooking chicken in batches, making sure not to overload the pan. 

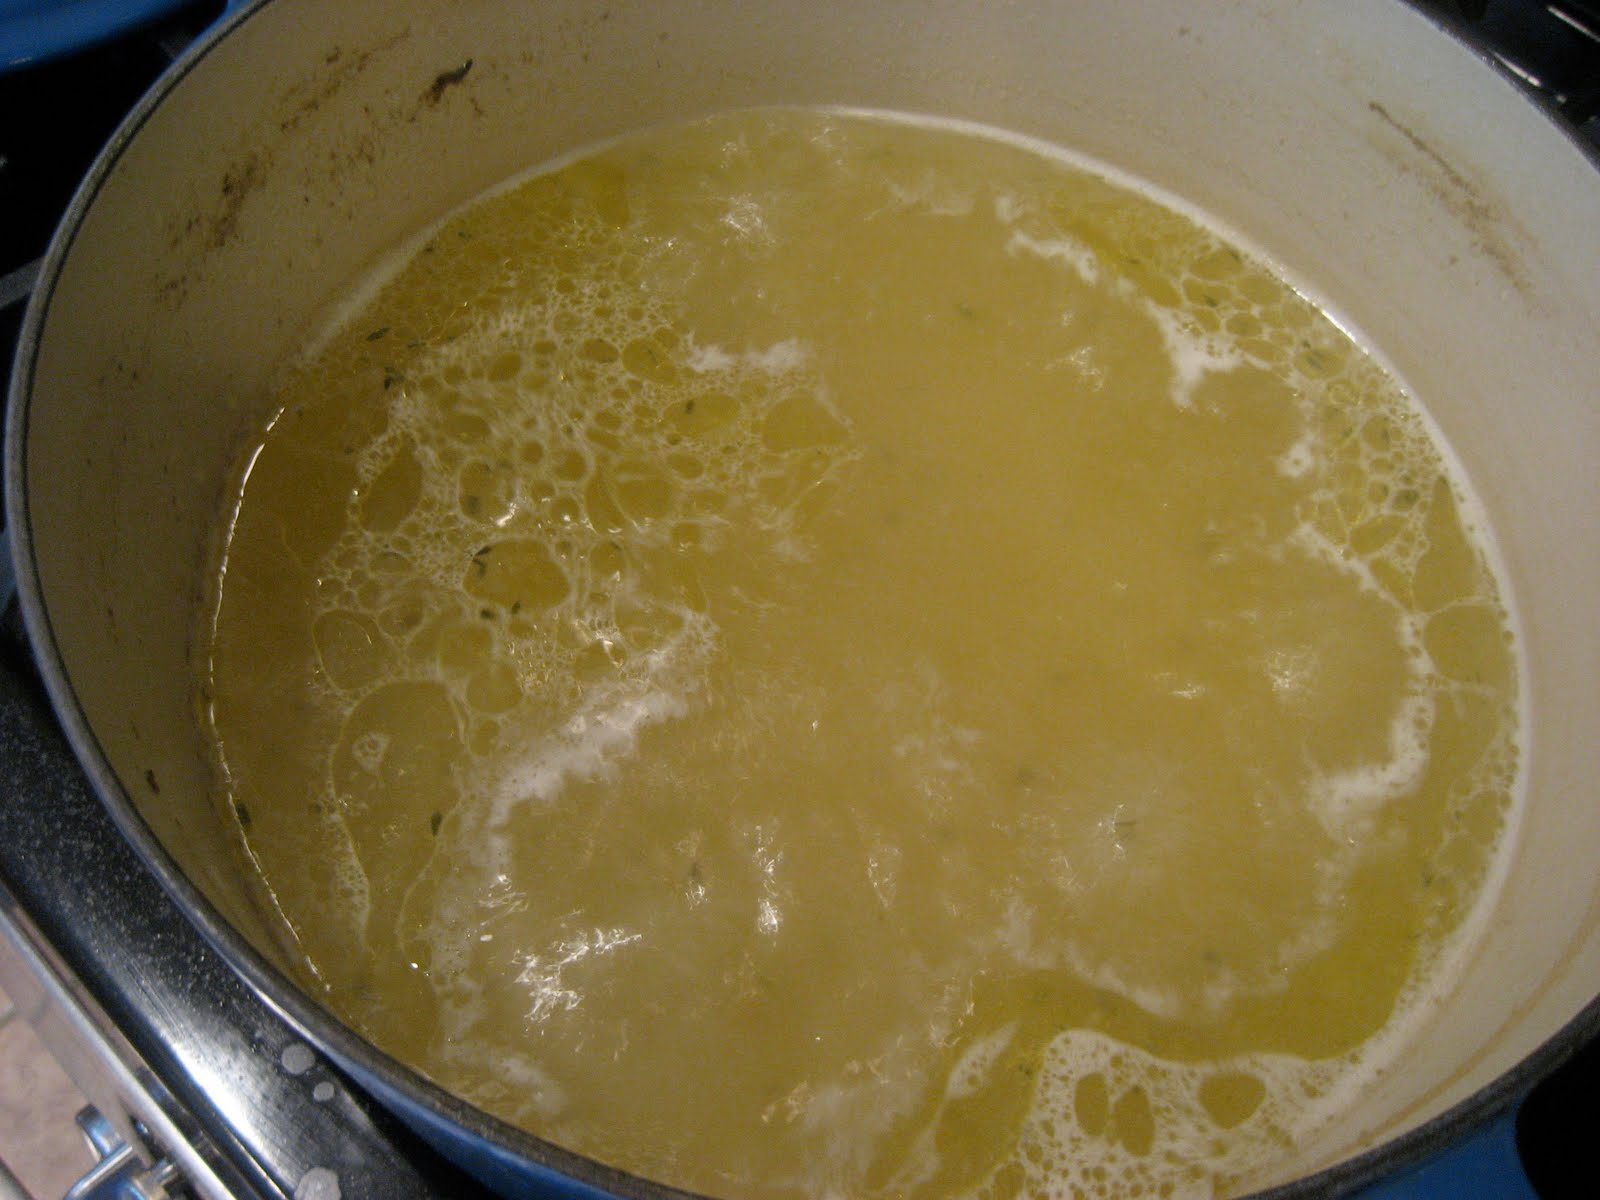
Once all the chicken is cooked, add the remaining flour to the lard to make your roux. Sitrring continually, let the roux cook down until it is thick and the color of peanut butter (maybe even the consistency of peanut butter). To the roux, add the onion, celery, poblano chili, garlic and diced plum tomatoes. Let it all cook for about 5 minutes. Add the canned tomatoes, chicken broth, dried thyme, bay leaves and hot sauce. Bring to a simmer and let it cook for about 45 minutes until it gets thick and dark red (or at least darker than what you began with). Serve with steamed rice with scallions. 

Perfectly Steamed Rice with Scallions
Adapted from Real Cajun by Donald Link
This is the first time I made rice without having to check, stir and add more water the entire time. Maybe I was just lacking faith in the process?
  • 1 cup long grain rice
  • 1 1/2 cups water
  • 2 bay leaves
  • pinch of salt
  • Half a bunch of scallions, thinly sliced
Combine everything but the scallions in a saucepan. Bring to a boil, turn heat down to LOW, cover and let steam for about 15 minutes. Fluff with a fork and add scallions. 


Cast-Iron Hush Puppies
Adapted from Real Cajun by Donald Link
I'm not sure I've ever had hush puppies before so I don't really have anything to compare these to but I'm a fan. I took a few tablsepoons of honey, add a few teaspoons of hot water, whisk it together with some paprika and use this as a dipping sauce. It was also delicious drizzled over the gumbo (for those who can't quite handle the heat.. like me...).
  • 1/2 small onion, chopped
  • 1 small jalapeno pepper, stemmed, seeded and chopped
  • 1 bunch scallions thinly sliced
  • 2 tbls minced parsley
  • 1 cup yellow cornmeal
  • 1/2 cup flour
  • 2 tbls sugar
  • 2 1/2 tsp baking powder
  • 1/2 tsp salt
  • 1 tsp dried thyme
  • 1/4 tsp cayenne pepper
  • 3/4 cup whole milk
  •  1 egg
  • Vegetable oil, for frying
In a food processor combine the onion, jalapeno pepper, scallions and parsley. Mix to a rough puree. In a medium bowl whisk together the cornmeal, flour, sugar, baking soda, salt, thyme and cayenne pepper. In a large bowl combine the milk and egg. Add the onion mixture to the milk mixture and combine. Add the dry ingredients to the wet ingredients and mix to combine. Apparently it helps to refrigerate the mixture for about an hour which I did (purely because I had to) but I imagine it would just be stickier should you choose not to wait. 

In a cast iron skillet (or in my case, a deep saucepan), heat about 3 inches of vegetable oil to 350 degrees. While this is heating, form the dough into balls roughly 1 inch big (or in my unit of measure: 1 doughnut hole). Once the oil is hot enough, fry up about 6 hush puppies at time, making sure not to overcrowd the pan. Let cook for about 2-3 minutes or until golden brown. Remove to a paper towel lined cookie sheet. Repeat as necessary. Hush Puppies can be kept warm on a naked cookie sheet in a 200 degree oven. 

Thursday, March 17, 2011

Celebrating with Beer

I've been meaning to make this Chocolate Stout Cake for years. I remember seeing it with a white frosting which simulated the frothy head of a Guinness beer but all the recipes for Chocolate Stout Cake seem to have a chocolate frosting instead. In the end I mixed two recipes to get what I wanted and I'd say it was a success.


Getting the cake out of it's Bundt pan was a disaster but then it gave me an excuse to whip up some chocolate ganache to mend the cracks and I ended up filling the hole with more cake crumbs, chocolate ganache and frosting. No one in the office seemed to mind one bit.


Chocolate Stout Cake
Adapted from Smitten Kitchen

Cake:

  • 1 cup stout (such as Guinness)
  • 1 cup (2 sticks) unsalted butter
  • 3/4 cup unsweetened cocoa powder (preferably Dutch-process)
  • 2 cups all purpose flour
  • 2 cups sugar
  • 1 1/2 teaspoons baking soda
  • 3/4 teaspoon salt
  • 2 large eggs
  • 2/3 cup sour cream
Chocolate Ganache
  • 4 ounces good semisweet chocolate chips
  • 4 tablespoons heavy cream

Frosting

  • 8oz of cream cheese, at room temperature
  • 1 1/4 cup sugar
  • 1/2 cup heavy whipping cream

Preheat oven to 350 degrees.

Grease a bundt pan VERY WELL. I coated mine in Pam and it was a disaster. Next time I might use melted butter.

In a medium saucepan combine butter and stout. Bring to a simmer and add cocoa powder, whisking until smooth. Remove from heat and let cool. In a large bowl, combine flour, sugar, baking soda and salt. Whisk to incorporate. In the bowl of a mixer, combine eggs and sour cream. Making sure the mixture isn't still hot, add the chocolate-stout mixture to the beaten eggs and mix to combine. Add flour mixture and beat briefly to combine and finish folding using a spatula.

Bake in oven for about 35 minutes or until a cake tester comes out clean. Let sit in pan for 10-minutes to several hours (jury's out on which is best). Invert onto a cooling rack and let cool.

For the frosting, beat the cream cheese until light and fluffy. Add the sugar (sifted in you're feeling fancy) and mix until combined. Add the heavy cream and mix until it thickens a bit.

For the chocolate ganache, combine the chocolate and cream in a small saucepan over medium low heat and mix until melted and combined.

To assemble the cake, pool the ganache over the cooled cake and let the ganache cool or set. Add the frosting on top, manipulating it to resemble the frothy head of a stout beer.


Happy St. Patrick's Day 

Tuesday, March 15, 2011

Nawlins

I have a new love- New Orleans. What a wonderful place. Lemme show you:


Mardi Gras was just a few weeks away
beautiful architecture

Had to get the gaudiest Mardi Gras beads I could find
 
great jazz in great location

Bourbon Milk Punch @ Stanley's

Voodoo; real or otherwise


Tasty biscuits with dark syrup at a fantastic cooking class


Magnolia trees are everywhere


Confederacy of Cruisers Bike Tours


A special lunch at Commander's Palace


Abita's long awaited Strawberry Harvest Beer was finally available for the season

Thank you New Orleans! We had a great time!

Monday, February 14, 2011

Be Mine

I just had to sign in very quickly to share this adorable application on the Kate Spade website by which you can send cute E-Cards for free for Valentine's Day. It's not too late to let someone know how much they mean to you!


Happy Valentine's Day everyone!

Monday, November 1, 2010

One last Halloween thought!

Senior year in college I lived in an apartment complex of nothing but students. Halloween evening I'm getting my costume together for the night and making a quick and hearty dinner for my friends to grab on the way out: Blood & Guts Potatoes. As we're getting ready to leave we get a knock on the door. Expecting more friends Kris and I run to open it, to find a 15 year old kid and his fat friend. "Trick or... treat?" they say with more threat than charisma in their voices. "hmmm... I actually don't have any candy... " I replied honestly. "Your neighbors gave us something" he replied showing me a can of garbanzo beans. Just then Kris rounded the corner with the pan of Blood & Gut Potatoes. "Here, you can have one of these." Kris shrugged. The kid took one, bit into it and declared it gross. His fat friend took his turn and liked it. He ate two.


This year I revived the Blood & Gut potaotes because they are real easy and real tasty. It's only a few ingredients but they really come together. I feel like this is really good kid food.
Happy Halloween!

Blood & Guts Potatoes
Adapted from Nigella Lawson
  • 4 baking potatoes
  • 3 balls of mozarella, diced
  • 2 tbls ketchup, plus more to decorate
Preheat oven to 450 degrees. Prick the potatoes all around and put them into the oven, straight onto the rack for 1-1.5 hours, depnding on their size. Once they are cooked through, let them cool until you can handle them. Slice each one in half and carefully scoop out the flesh without piercing the skins.

In a large bowl mix the potato flesh, diced mozzarella and 2 tablespoons of ketchup. Evenly distribute the mixture among the potato skins and top with some more ketchup. Put them back into the oven for about 15 minutes, until the tops are toasted and the potatoes are heated through.

Saturday, October 30, 2010

Halloween Round-Up

I sure do love Halloween. This year I had a Haunted Dinner for some friends and also helped organize a Halloween Party which was sorta busted by the cops twice. Now that's the sign of a good party if you ask me.


I've been meaning to dress up like Norma Desmond from Sunset Blvd. for years and the Haunted Dinner was the perfect opportunity. I didn't want to buy much to pull off the look and so I went with the outfit she's wearing in the first scene in which she appears. She wrongly assumes that Joe Gillis is here to bury her dead monkey. She thinks the monkey should be buried in a pink lined-coffin. It's creepy right from the start! Here's Norma:


And here's what I came up with:


I think it worked out really well and I would definitely dress up like this again. I wore a long black silk skirt and a black wrap sweater. I piled on all the gold bracelets I could find and wouldn't ya know that I already had a turban. All I had to buy was a piece of animal print fabric ($1.50 at Joanne's) and some nifty sunglasses ($4.99 at Five Below).


For the Haunted Dinner I wanted to make a really over-the-top indulgent desert- something with candy. I went for what Betty Crocker called a Trick or Treat Cheesecake. I'm not really into cheesecake but this felt right and lemme tell you that it also tasted right!


It's essentially a regular cheesecake with a chocolate wafer crust, but you dump in about 20 fun size candy bars and they settle at the bottom of the crust, making this a really decadent desert. I went with Butterfingers, Snickers & 100 Grand bars. It was awesome.


I'm not sure I had ever used a Betty Crocker recipe before, mostly because it's not really my style, but this one had a great tip: When you preheat your oven place a cookie sheet half filled with water on the lower rack. I really didn't understand it at first and thought that maybe I'd be submerging the cheesecake into the water later, but what it did was provide a great place for cheesecake drippings to fall with making a mess or burning. It might also have helped keep the oven moist so the top of the cheesecake wouldn't crack.

Perfect!

Trick or Treat Cheesecake
Adapted from Betty Crocker

  • 1 1/2 cups crushed chocolate wafer cookies (about 25 cookies)
  • 1/3 cup sugar
  • 1/3 cup butter or margarine, melted
  • 2 packages (8 oz each) cream cheese, softened
  • 1 can (14 oz) sweetened condensed milk (not evaporated)
  • 3 eggs
  • 2 teaspoons vanilla
  • 20 bars (fun-size) candy, unwrapped, cut into quarters (about 2 cups)
Heat oven to 300°F. Spray 9-inch springform pan with cooking spray. Place deep cookie sheet half full of hot water on lower oven rack.


In medium bowl, mix cookie crumbs, sugar and butter. Press into the pan. In large bowl, beat cream cheese and sweetened condensed milk with electric mixer until smooth. Beat in eggs, one at a time, just until combined. Stir in vanilla and candy. Pour into crust.

Bake 40 to 50 minutes or until edge of cheesecake is set at least 2 inches from edge. The center should still jiggle slightly! Turn oven off; open door at least 4 inches. Let cheesecake remain in oven 30 minutes. To loosen cheescake, run a knife or metal spatula around the edge of pan. Cool in pan on cooling rack 30 minutes. Refrigerate at least 6 hours or overnight.


You really only need a small slice. I promise.

Thursday, October 28, 2010

Let the Holiday Baking Season BEGIN!


I hope you've been enjoying the weather and season just as much as I have. There's just something about Autumn in Virginia. Although I really enjoyed New York and London in the fall, they just can't compete with the luscious landscapes around these parts. I keep thinking that if I'm ever going to get into a car accident, it will be because I can't help but stare at a gorgeous sugar maple or beech tree.


A few weekends ago, Kris and I took a bit of a road trip through the Shenandoah valley. We took back roads and ogled at the fall foliage, visited Montpelier and discovered a few gems along the way. One of which is the Moo Thru off of James Madison Highway in Remington, VA.

I'm lucky to have a boyfriend with such mad reflexes because this little shop is in the middle of nothing and will fly by you if you're not paying attention. And when I say, middle of nowhere, I mean it. But they must be doing something right because their little parking lot was just about full. Once we had a bite, we understood. The shop's motto is "Real Ice-Cream from Real Dairy Farmers" and they are not playing around. Guys, it was awesome. I got one scoop each of pumpkin and cinnamon.


Kris got a real chocolate milkshake. Something that tastes like chocolate more than it does like sugar. If I had been paying attention, I would have realized that you can also buy milk and chocolate milk to take home! I deliberated for a few minutes whether to hop back in line to do just that!


All to say that if you're ever in the area, stop by the Moo Thru. James Madison Highway is also quite lovely and takes you through really quaint towns. It was a great way to spend a Sunday. But what I'm really here to tell you about are these Caramel Apple Sticky Buns I made for that same weekend! Here's how they go:


Make your dough and let it rise. The dough actually took me 12 minutes. I know this because I woke up with 14 minutes until the Martha Stewart show was going to start and managed to make this dough without missing a second. And no, I'm not obsessed with Martha. I just really like what she (her team) does...

Next, roll out your dough, trying to approximate a long skinny rectangle. It's hard, but just give it a go. Spread melted butter on the dough and then liberally sprinkle on sugar and cinnamon.

At this point, you will have already made the caramel sauce, poured it into the pan and sprinkled a chopped apple over top.

Roll up your dough and cut it into 1-1.5 inch rolls. The width of your rolls is going to depend of the depth of your pant. I figured this out by pan #2. 

Bake and flip to reveal some AWESOME apply sticky buns!


You can even freeze the baked rolls until later. Just put the frozen buns into a 250 degree oven and bake until heated through- about 35-45 minutes.This would be a shot of me and my college buddies enjoying the buns later. A delicious mess!

Caramel Apple Sticky Buns
Adapted from The Pioneer Woman
Makes 2 9 inch pans full of buns.
I would honestly double it next time and freeze the extra.

For the Rolls:
  • 2 cups Whole Milk
  • ½ cup Sugar
  • ½ cups Canola Oil
  • 1 package (2 1/4 Teaspoons) Active Dry Yeast
  • 4-½ cups Flour, Divided
  • 2 teaspoons Salt
  • ½ teaspoons (scant) Baking Soda
  • ½ teaspoons (heaping) Baking Powder
For the filling:
  • ¾ cup Sugar
  • ¾ cup Melted Butter
  • 4 Tablespoons Ground Cinnamon
 For the Caramel Sauce:
  • 1 stick Salted Butter
  • 1-½ cup Packed Brown Sugar
  • 1 Tablespoon Dark Brown Corn Syrup
  • 2 Tablespoons Cream
  • 2 Tablespoons Apply Brandy Or Apple Juice (optional)
  • 2  Apples, Peeled And Finely Diced
To make the dough:
You could easily do this entire process in the metal bowl from your stand mixer by starting with the bowl in a double boiler and using the hook attachment. Heat milk, oil, and 1/2 cup sugar until warm (do not boil.) Allow to cool to lukewarm. Sprinkle in yeast and 4 cups flour. Stir gently and cover with a tea towel, allowing it to rise for 1 hour. After 1 hour, add remaining flour, baking soda, baking powder, and salt. Set aside.


To make the caramel topping:

Add 1 stick butter, brown sugar, corn syrup, cream, and optional apple brandy to a small saucepan. Allow to melt over low heat until totally combined. Boil for a few seconds, then remove from heat. Set aside.


To make the rolls:
Roll out half the dough into a large rectangle. Pour on half the melted butter, half  the sugar, and half the cinnamon. Roll into a long roll, pinch the edges together to seal in the filling and then slice into rolls.

To assemble:
Pour half the caramel topping into a 9 inch cake pan. Sprinkle diced apple over the top, then arrange sliced rolls all over the pan. Allow to rise for 20 to 30 minutes.

Bake at 375 degrees for 30 to 35 minutes, covered in foil for the first 25 minutes.

Thursday, October 21, 2010

Curing the Sick


Is there anything more comforting than Chicken Noodle Soup, or Chicken and Dumplings? Or even Chicken Noodle Casserole? I didn't think so. According to a recent episode of Jeopardy, Chicken Noodle Soup is known as Jewish Penicillin. I quite agree. As I mentioned in my last post, I have a sick boy on my hands. Luckily, I had just about everything on hand to make this version of Chicken and Dumplings. Full disclosure, I had never made dumplings before. Never really ate them much either. I guess my family is more noodle soup than dumplings. But this was really delicious. The dumplings are way comforting. and salty. This is definitely staying in the repertoire and I can't wait to try it again with my adjustments.  

 Making a tasty broth

 Boiling down the broth to enhance the flavor

Dropping dumplings!

 Adding the meat and veggies back in

No species can resist

Chicken & Dumplings
Loosely based on Mad Hungry
I adapted the recipe so that you don't end up with so many coarsely chopped vegetables in the final product. The trick was to make sure that the broth got flavored but that the veggies don't get soggy by the time the chicken is done. The solution? Two batches of vegetables. It's not wasteful- it's tasty. You could always save and eat the coarsely chopped veggies if you wanted. I just don't like that much turnip in one bite!

For the Chicken
  • 4 chicken thighs
  • 1 onion, halved but root end left intact
  • 1 large carrot, coarsely chopped
  • 1 celery stalk, coarsely chopped
  • 4 sprigs of fresh parsley or thyme 
  • 1-2 turnips and parsnips coarsely chopped  
  • 8 to 10 cups water
  • 1 tbls coarse salt
  • 1 chicken bullion cube
  • 1 large carrot diced
  • 2 celery stalks diced
  • 1 cup peas
For the Dumplings
  • 1 cup all-purpose flour
  • 2 tsp baking powder
  • 1/2 tsp coarse salt
  • 3/4 cup milk  
  • 1 tsp dill, fresh or dried
Add the chicken to a large pot with a lid. Add the coarsely chopped vegetables (onion, carrot, celery, parsley, turnip, and parsnips) to the pot and barely cover with the water.

 
Bring to a boil over high heat, reduce the heat to a simmer, partially cover, and simmer for 30 minutes. Lift out the chicken and vegetables. Discard the vegetables and herb sprigs, reserving the onion. Chop the onion and return it to the broth along with the diced carrot, celery and peas. Continue to simmer the broth for 15 to 20 minutes until the vegetables are tender. Add the salt and bouillon cube. When the chicken is cool enough to handle, remove the meat, shredding it into large pieces.

 
To make dumplings, in a small bowl, whisk together the flour, baking powder, and salt. Stir in the milk and herbs to combine.

 
Drop the dough, 1 tablespoon at a time onto the simmering broth. Cover and cook until the dumplings have cooked through 3 to 4 minutes. Carefully return the shredded chicken to the pot. Reheat for 1 minute or so.